I Hope You Enjoy my Video! I Had So Much Fun Making It!
What is the Purpose of My Video?
The purpose of my video was to teach my audience how to make a simple and easy chocolate chip cookie recipe. I wanted to convey the idea that baking can be a fun activity that anyone can do, even if they don’t have prior experience. By choosing a simple recipe with pretty minimal ingredients, it’s much more likely that most people would have these ingredients in their homes, and could easily follow along with the steps of the recipe as I do in the video.
Why is Video a Good Medium for this Learning Purpose?
One of the main ways that video makes for a good medium when learning how to bake cookies is because it provides a visual demonstration. Sometimes when just reading the steps to a recipe off of a page or website, it can be hard to understand the exact process that will allow for the recipe to be a success. Especially if you’re new to baking and are not sure of some specific cooking terms, watching a professional on a video can be super helpful. It can also be helpful to see the consistency or texture of what the mixture should look like after beating. It can sometimes be hard to tell what ‘beat together until light’ means, so it’s helpful to see a video demonstration of how the ingredients are supposed to look when combined. It could also be helpful to see how the cookies should look when you’re taking them out of the oven, for example how brown they should be on the top.
Another reason video is a great medium for instructions is because of its accessibility aspect. If a visually impaired individual wanted to bake cookies, they may have a hard time reading the small print of a recipe in a cookbook or off a website. The audio descriptions provided with an instructional video allow for these individuals to follow along with the recipe by hearing the instructions rather than reading them.
Which Principles We’ve Learned this Term did I incorporate into my Design and Why?
I kept the redundancy principle in mind during the making of my video. Instead of using both written instruction blurbs on each instructional segment, I remembered that the redundancy principle explains that people learn better from just images and narration than images, narration and written text. I used voice overs to add my narration into the background of my video, rather than using written instructions over top of the video. That being said, I still of course opted into adding text in the form of closed captions to the bottom of my video, as I kept in mind the importance of using closed captions to boost the inclusivity of my video, which widens the potential audience and ensures that individuals who may be hard of hearing or just wish to watch the video on mute are still able to enjoy and learn from my content.
I also kept the coherence principle in mind, which describes the idea that extraneous graphics, sounds or words that are solely interesting and not essential to the learning material are introduced into the presentation; they can often result in increased cognitive load for learners. This one was a little harder to follow, as I will admit that it was tempting to use fun special effects or transitions during the editing process that would have made the video more entertaining, but would have taken focus away from the learning purpose.
Another principle I kept in mind was the modality principle, which describes that learners retain information more effectively from pictures or videos and spoken word rather than picture and printed words. This principle draws ideas from the dual channel assumption. With this principle in mind, I chose to use a voice over along with my video, rather than writing the baking instructions on the screen. If both text instructions and video or images are on the screen at once, it can often overwhelm learners’ visual channels. Rather than only stimulating the visual channels, using spoken voice utilizes the auditory channel as well.
What Was Challenging About Capturing Your Own Video?
The most challenging part for me was putting all of the clips of footage together in a cohesive way. I don’t have much experience with video capturing or editing, and I found it a little difficult as it was not intuitive to me. However, I used iMovie which did not take long to get used to, as it is a pretty simple site which makes things way more straightforward. Another challenge was because I had so much footage filmed, it was hard to cut clips down by a lot, even when I needed to. I was worried I would be leaving something important out, but after I did, I realized it made the video way more effective and concise, as I know my audience would rather receive all their instructions in only a few minutes rather than having to sit through a ten minute video. I also found it challenging to add closed captions to my video, as I added each closed caption line manually which took a lot of time in order to line up each text box with each piece of speech. It definitely took a lot of trial and error to line everything up perfectly.
What Did I Find Easiest?
I found it pretty easy to film each clip as I went along in the baking process, and actually ended up with a lot more footage than I needed for my video. I was worried about having unnecessary and distracting background noises from the steps I needed to complete for the video, like the electric mixer. So, instead of saying the instructions while I did each step in the video, I filmed all the content I needed, muted each video to get rid of background noise and was able to voice over the instructions in a quiet environment where I could focus on what I needed to say. I found the filming process really fun, especially because one of my friends offered to film the footage I needed with me, it was a much more enjoyable process than if I was doing it alone. It also made it so much easier to get the shots I wanted, as I didn’t have to worry about setting my phone up on an object or trying to film with one hand and add ingredients with the other.
What Would I do Differently Next Time?
Next time I would definitely like to utilise more interesting filming techniques, as I found that all of the shots I captured were basically just straight on visuals of what was happening. While this does convey the message in a simple and effective manner, I do think it would have been more captivating to my audience if I used a variety of different angles or other filming techniques. I would have also liked to be able to figure out how to add a dark background colour to my white closed captions to make them easier for individuals who choose to read the video captions to see. I noticed that in some points of the video when the captions appear on a lighter background, they’re a little harder to see. I couldn’t figure out how to add a dark background to the caption text boxes to make them pop out to the viewers, I’d definitely do that differently next time as I know this is an important way that makes the closed captions more effective.
My Script:
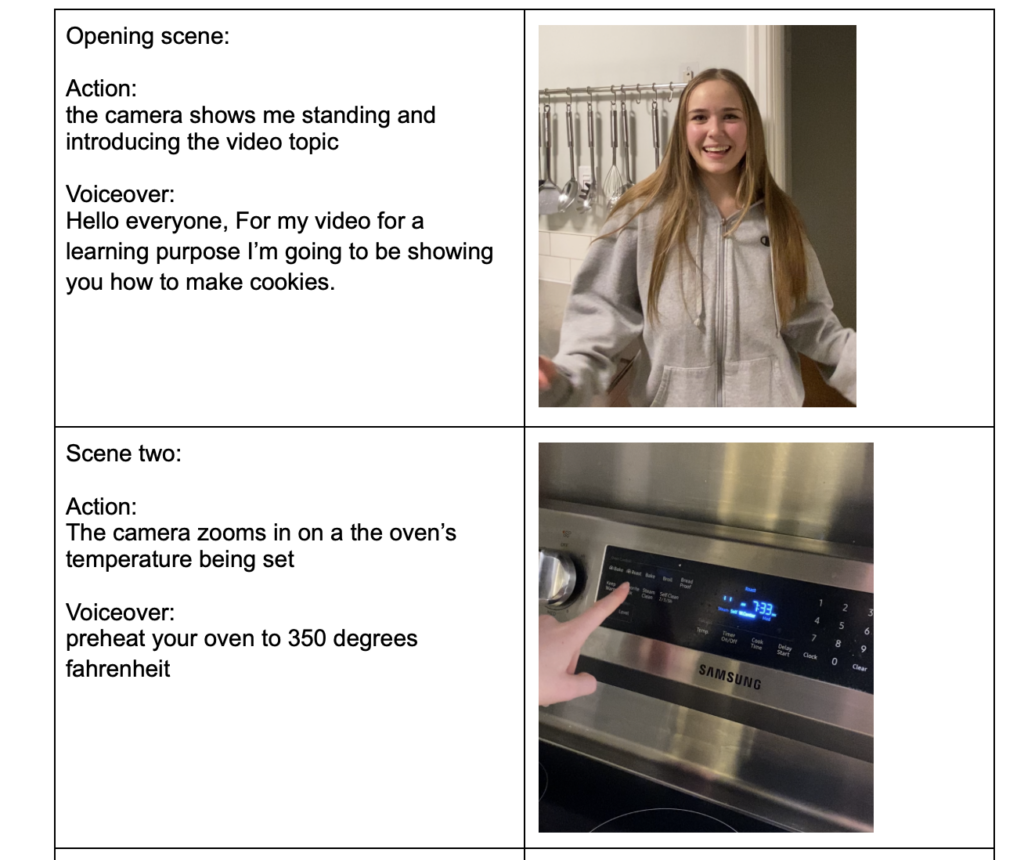
Hello everyone! For my video for a learning purpose I’m going to be showing you how to make cookies!
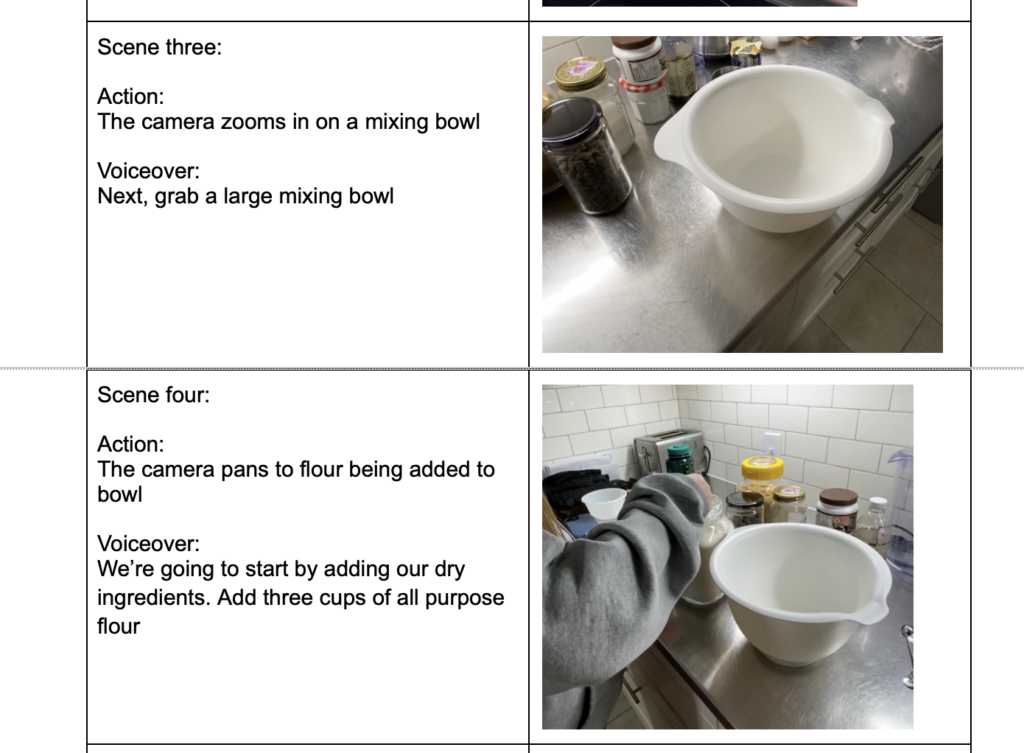
preheat your oven to 350 degrees Fahrenheit.
Next, grab a large mixing bowl
We’re going to start by adding our dry ingredients. First, add three cups of all purpose flour.
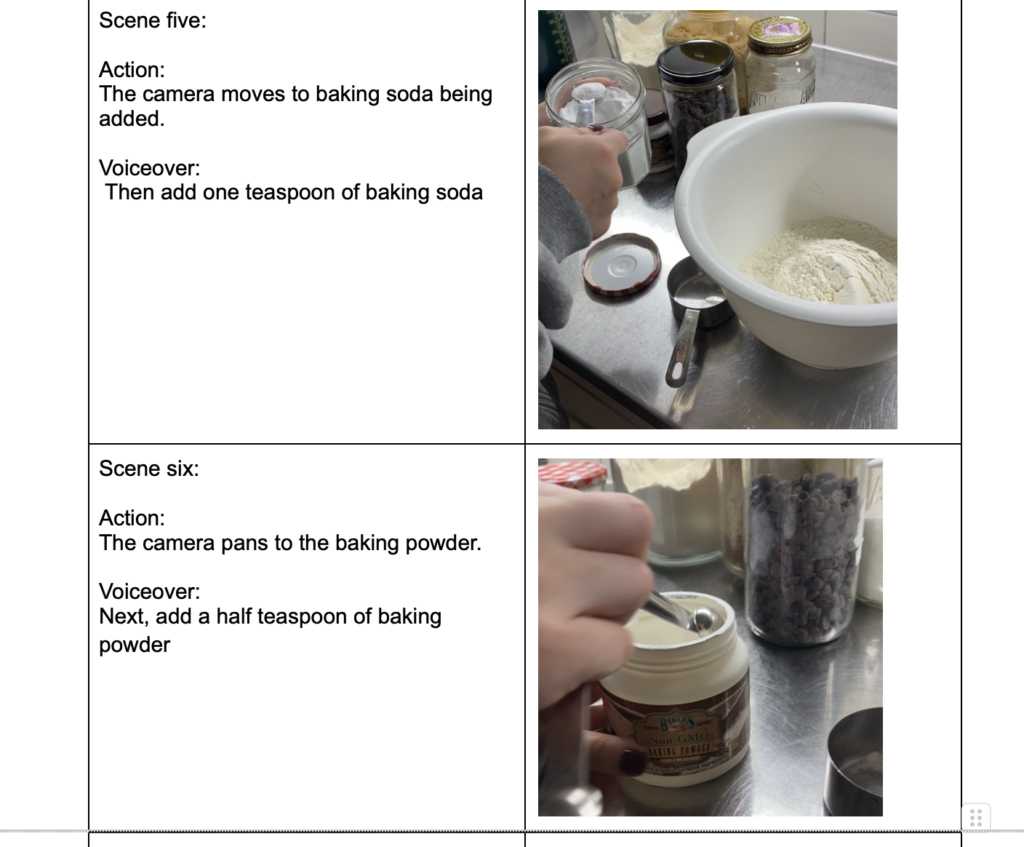
Then add one teaspoon of baking soda
Next, add a half teaspoon of baking powder
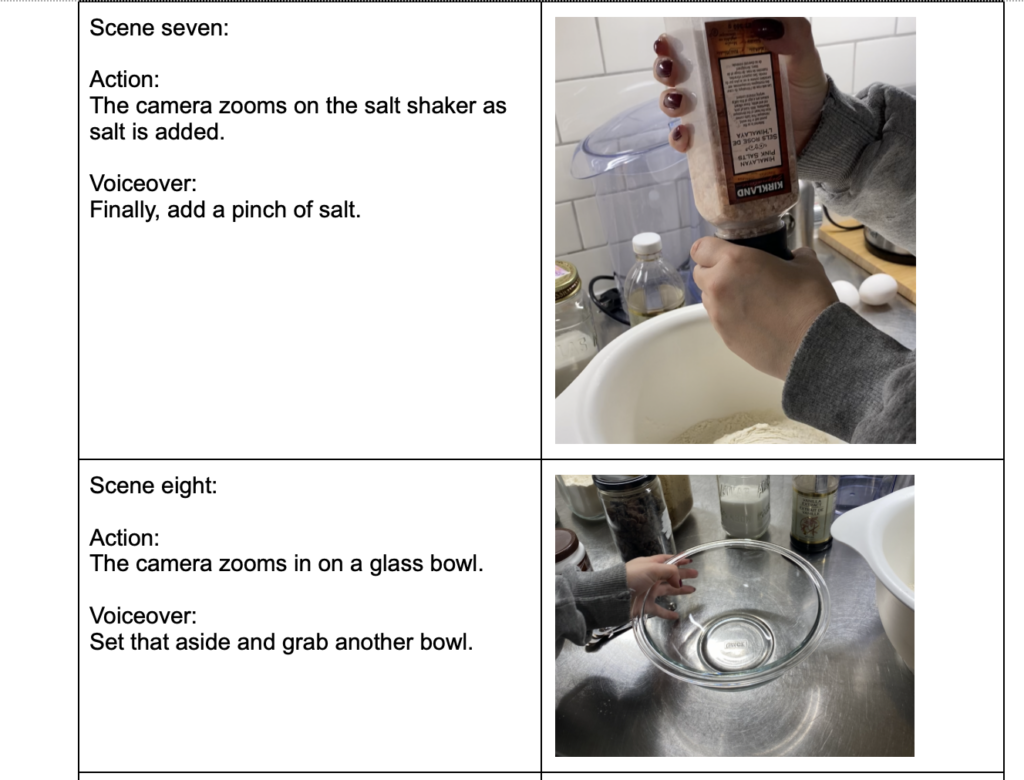
Finally, add a pinch of salt.
Set that aside and grab another bowl
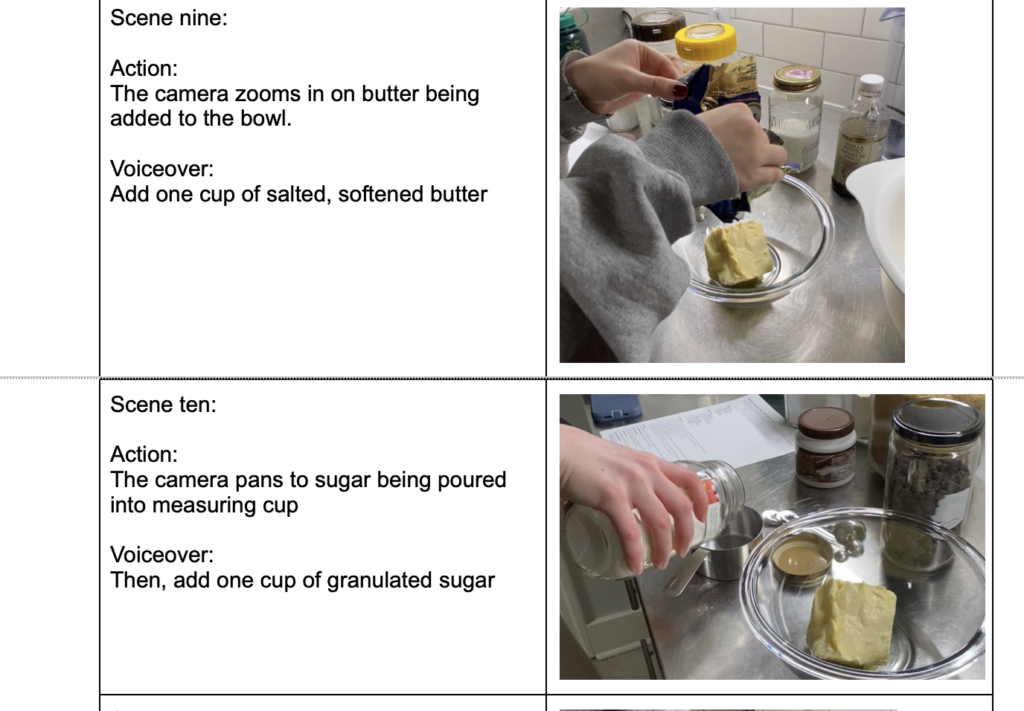
Add one cup of salted, softened butter
Then, add one cup of granulated sugar
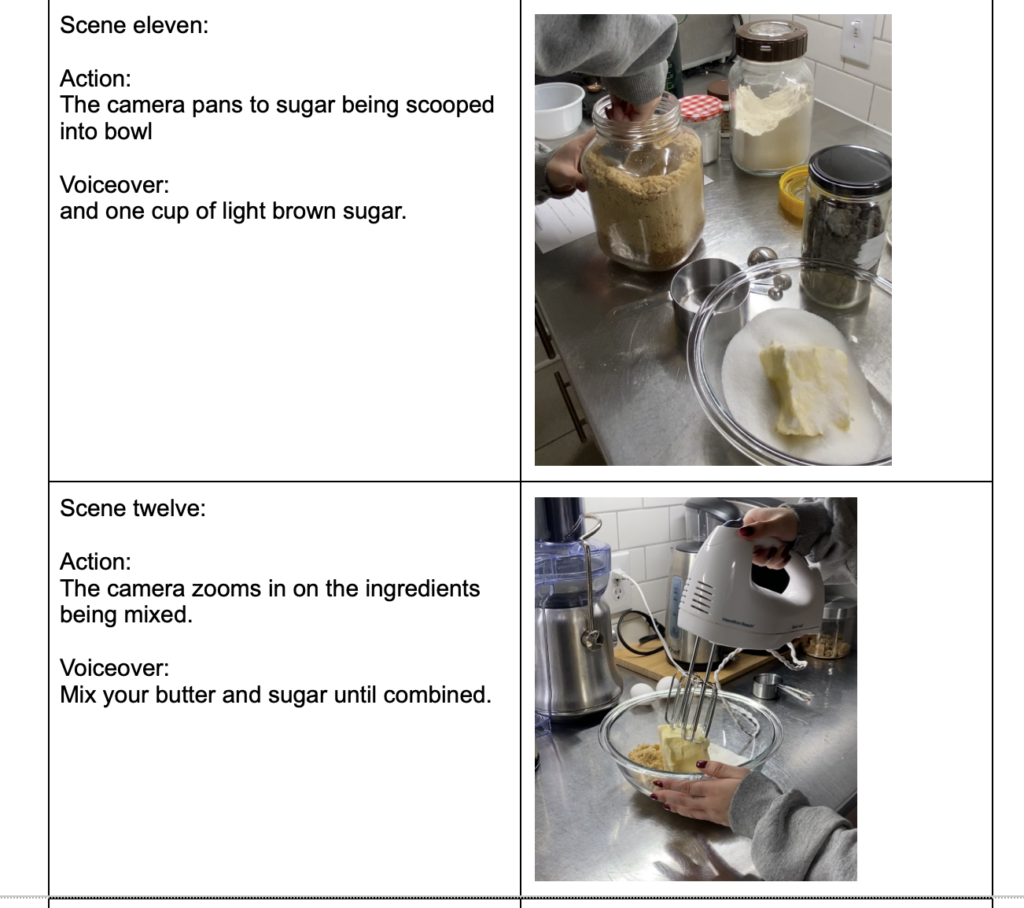
and one cup of light brown sugar.
Mix your butter and sugar until combined.
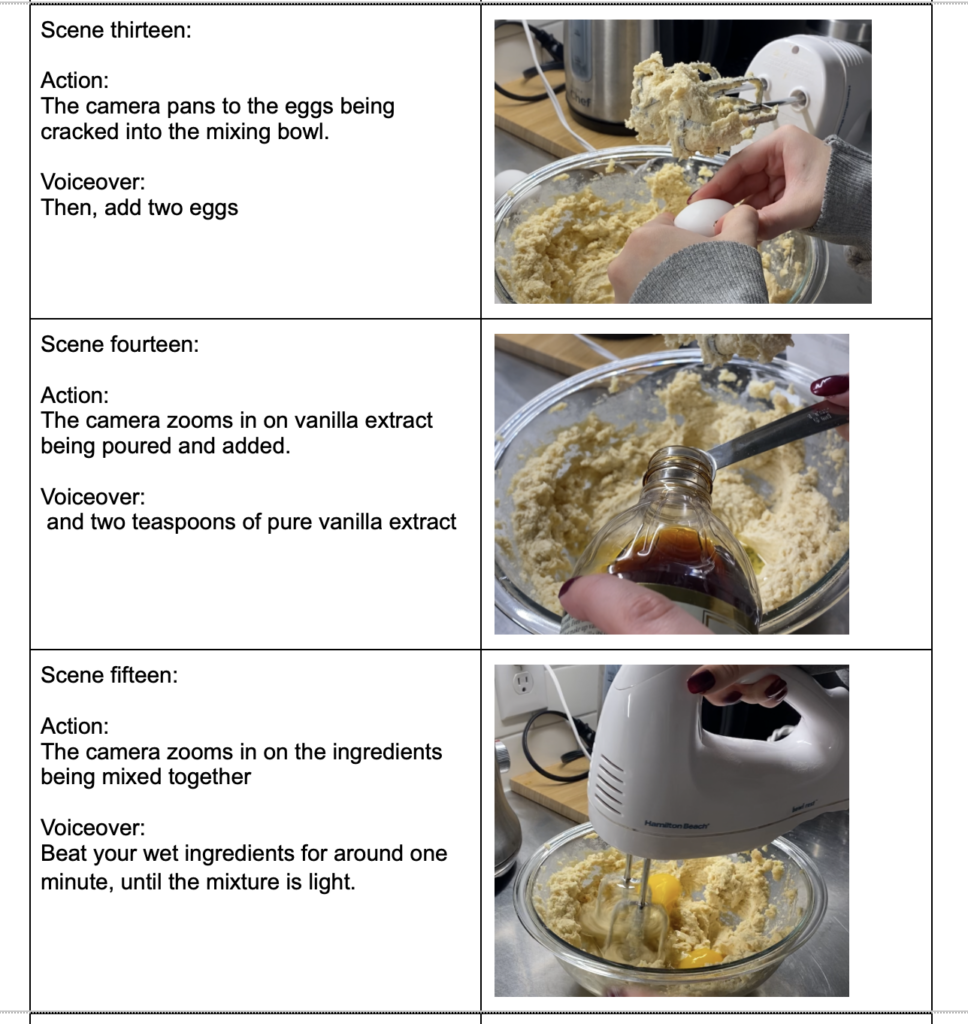
Then, add two eggs and two teaspoons of pure vanilla extract.
Beat your wet ingredients for around one minute, until the mixture is light.
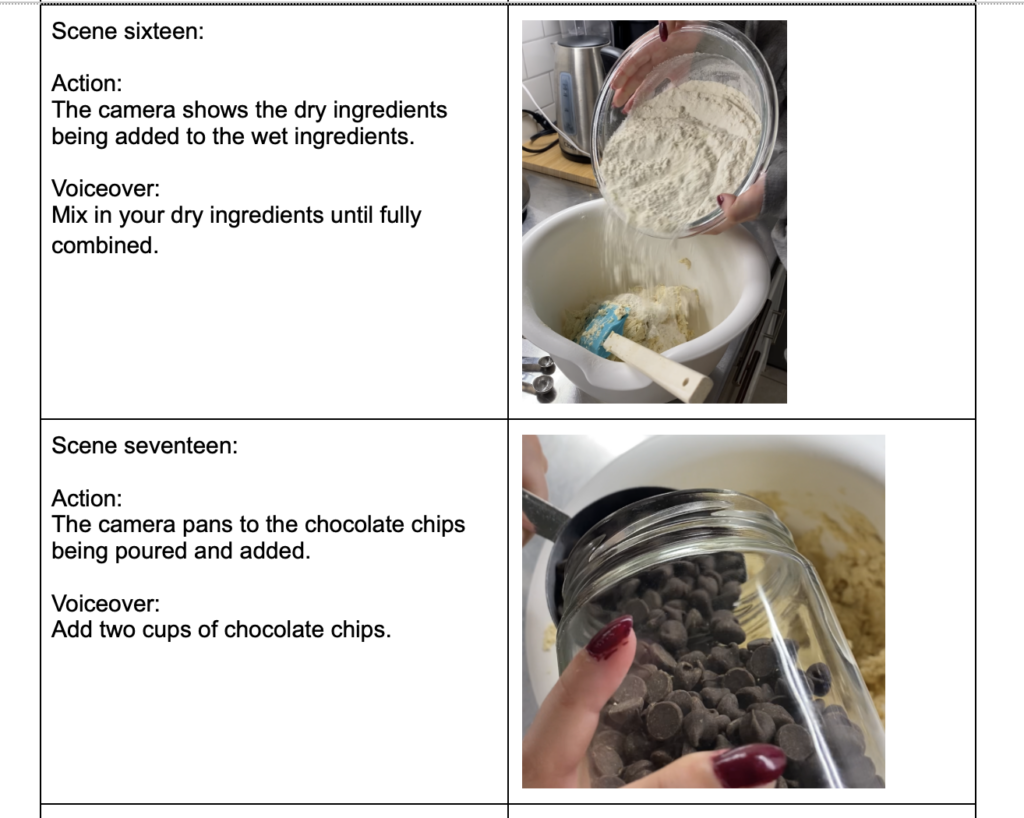
Mix in your dry ingredients until fully combined.
Add two cups of chocolate chips.
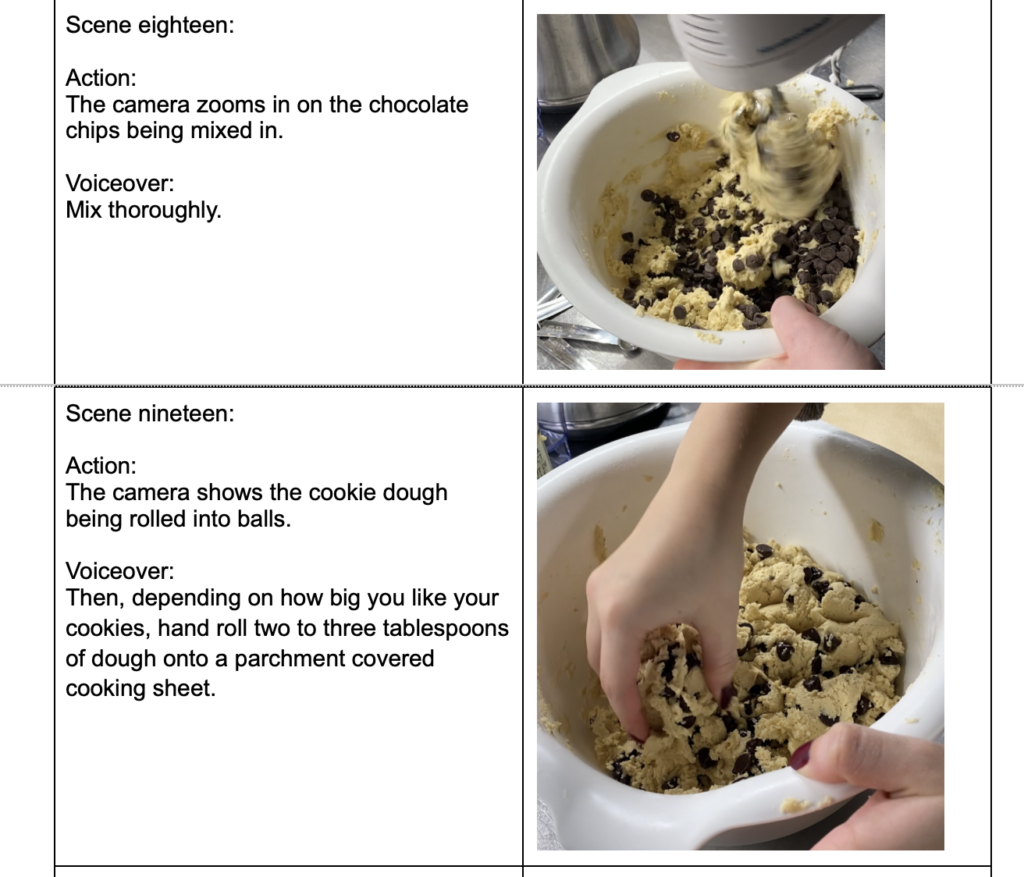
Mix thoroughly
Then, depending on how big you like your cookies, hand roll two to three tablespoons of dough onto a parchment covered cooking sheet.
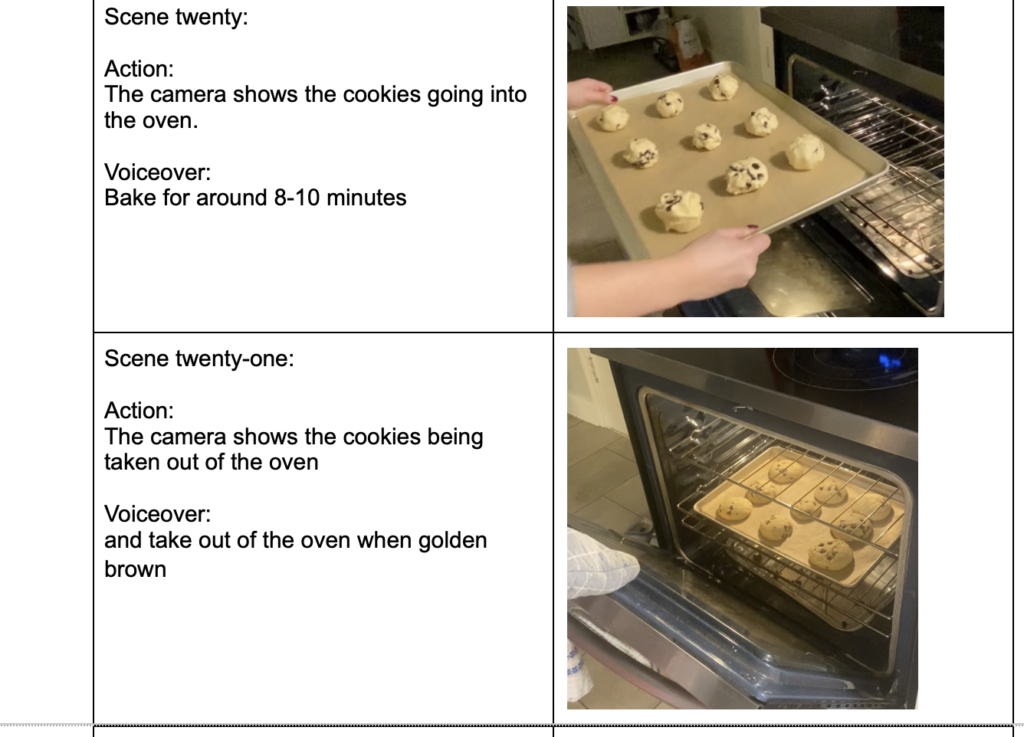
Bake for around 8-10 minutes, and take out of the oven when golden brown
Transfer them to the cooling rack and let cool.
Enjoy some delicious cookies!
My StoryBoard:

Recent Comments